Children | Emma Rae & Annabeth
May 29, 2013
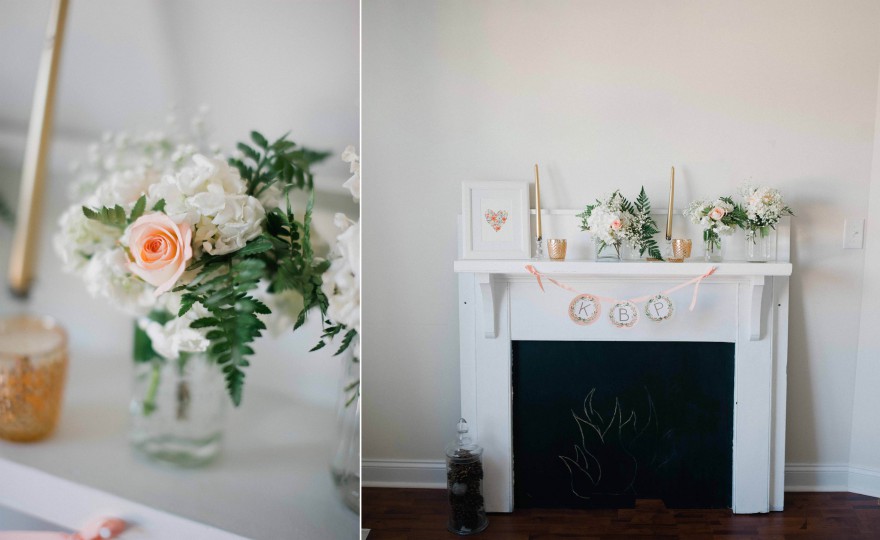
Bridal Shower | Karen
June 4, 2013Because this is how you will very likely spend the night before your wedding if you’re a DIY junkie like me (and Karen).
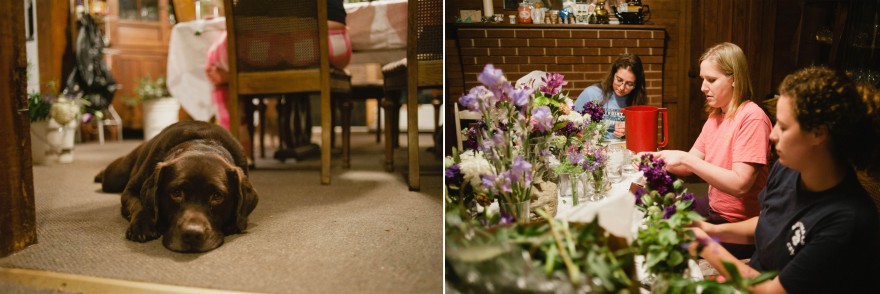
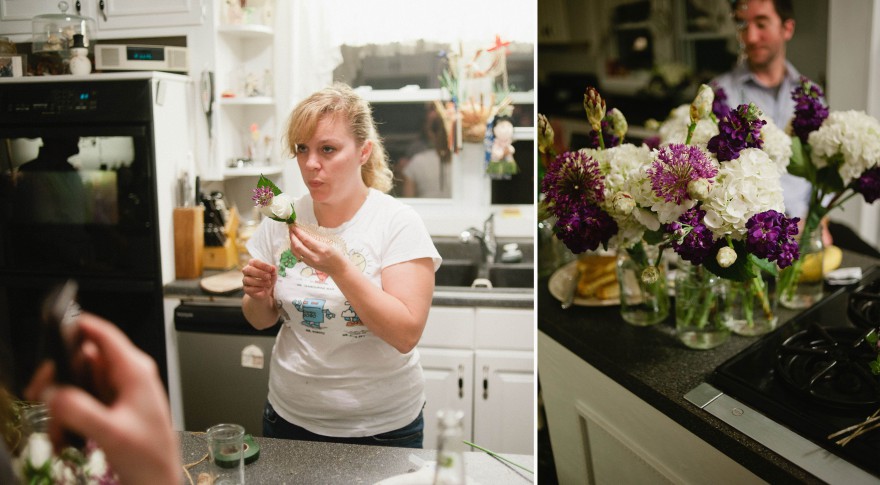
Flowers aren’t something that you can arrange weeks or months before your wedding date, they’re something that must be done as close to the the moment they’re needed as possible. After the fun of a rehearsal & dinner…. us ladies spent 4+ hours arranging 6 bouquets, 10 boutonnieres, 3 corsages, and as many table arrangements as we could muster. While I love this kind of work, not everyone does, nor does everyone ooze floral talent…. be considerate to your friends and your own sanity when choosing to DIY.
I’m not judging any of you DIY brides… I’m one of you too! Less than an hour before saying “I do” my girls and I were furiously tying ribbon on all our bouquets.
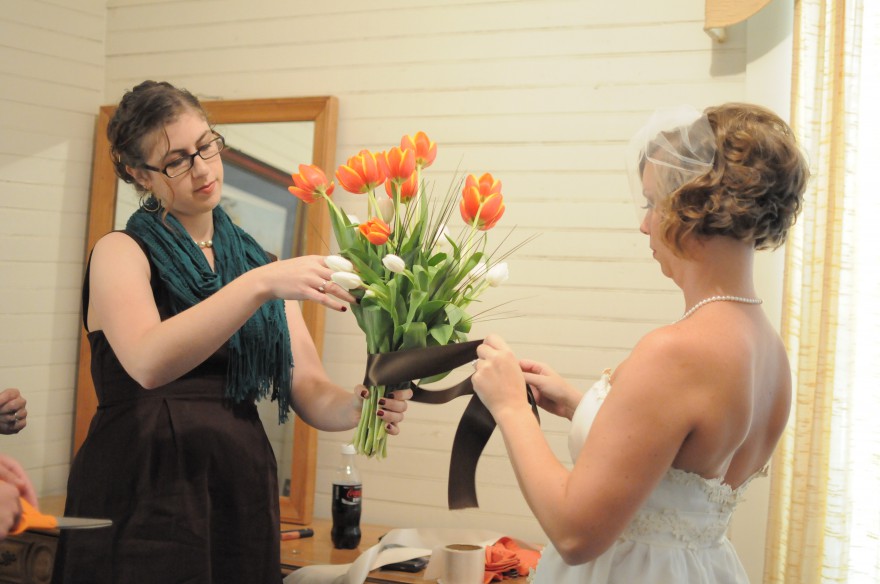
By Story Photographers
Don’t put too many items on your in-the-last-24-hours-to-do-list. You might go bat sh!t crazy.
Interested in making a bouquet? Here’s a great video from Style Me Pretty and here’s one from Blooms by the Box (a great resource for wholesale flowers!)
Interested in making a centerpiece or two? Check out my tutorial below.
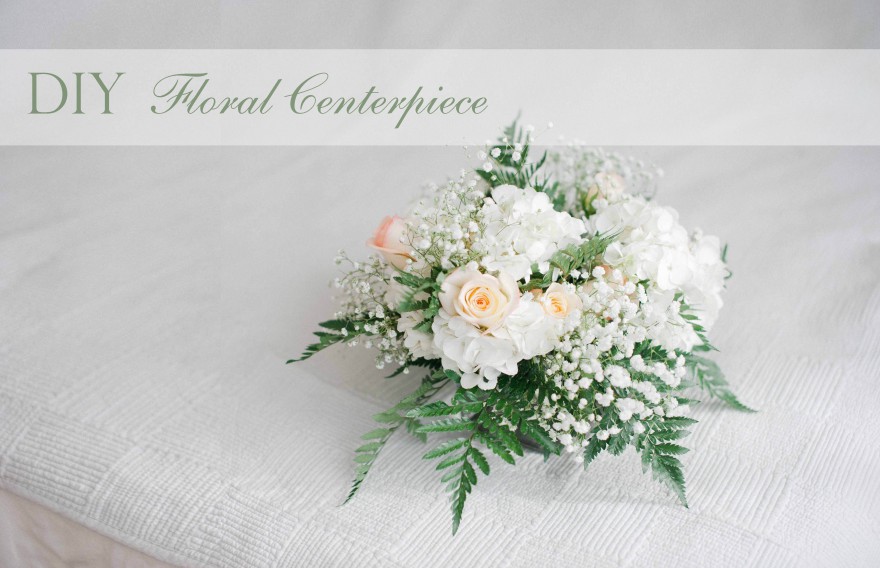
When I hosted Karen’s bridal shower I had Bella Grace make me some beautiful centerpieces for the tables. Once the shower was over and the flowers were looking sad, I went to deconstruct the arrangement to toss the flowers and realized a trick they used to make the flowers stand up so nice.
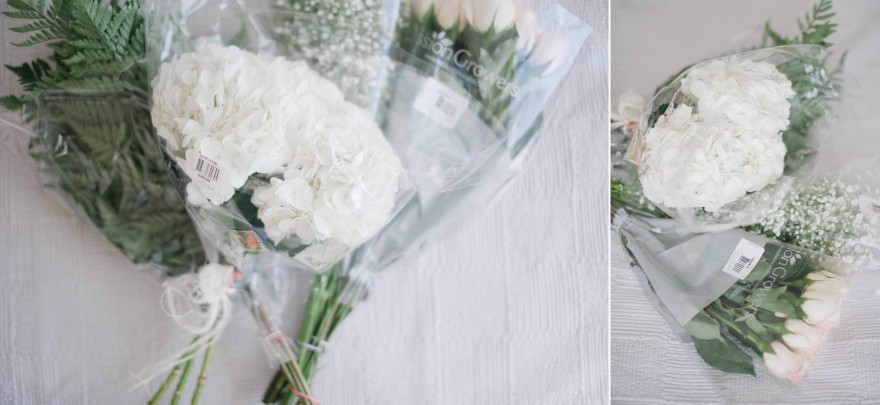
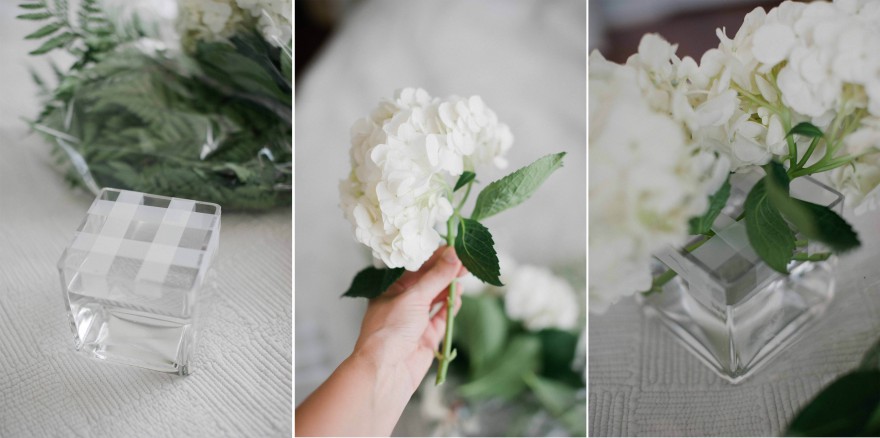
They used cube vases, about 5×5 square, and made a tic-tac-toe board with tape across the top of the vase. This provided stability to the flowers in the center and kept them from falling out to the sides of the vase. We used the same technique when arranging the centerpieces for Karen’s wedding day. For my example below, I picked up some white hydrangeas (3 stems), pale peach roses (12), baby’s breath (one bunch) and some kind of fern-like filler from Whole Foods (which OMG they have the best selection of grocery store flowers EVER…. found peonies there last week!) I bought all these for $32. This was enough to make one large-ish centerpiece… now, I don’t mean giant like this…. but it was really full! I did learn that square vases can be tricky- because of how the flowers lay out to the side, the stems don’t stay down well… so the water level has to stay high. This morning when I got up, one the the hydrangea’s looked a little sad…. so I ended up taking the arrangement apart and splitting it into 3 containers (the square vase I started with and 2 mason jars)
Step 1: Buy pretty flowers!
Step 2: Pick a vase and do the tic-tac-toe tape across the top. I just used scotch tape, but there’s probably something made for this.
Step 3: (this is likely wrong, but it’s how I did it) Take the largest flowers (hydrangea) and cut the stems and remove the leaves. Place in vase where you want them. I say it may be wrong because you could start with the filler first.
Step 4: Add smaller flowers in (roses)
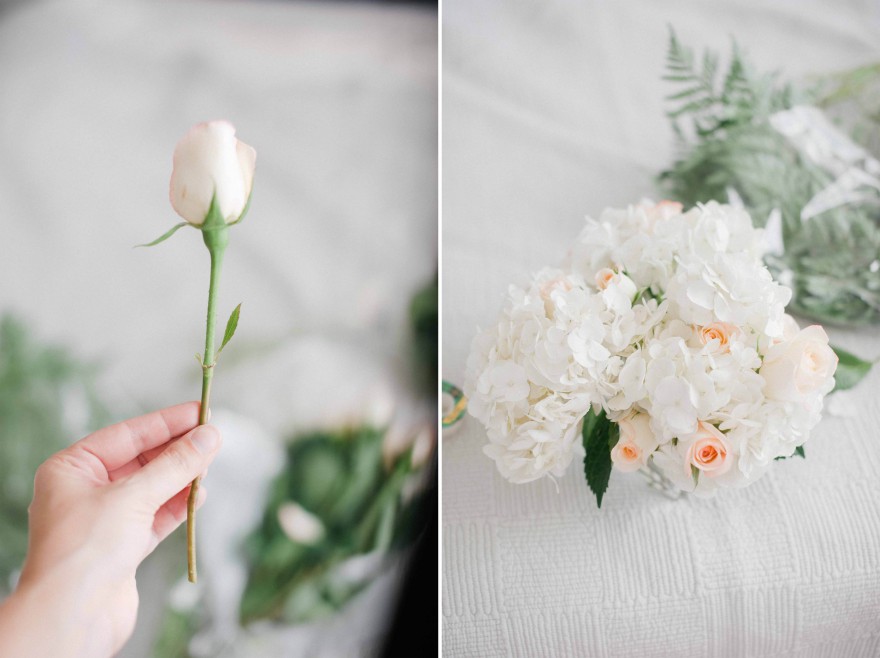
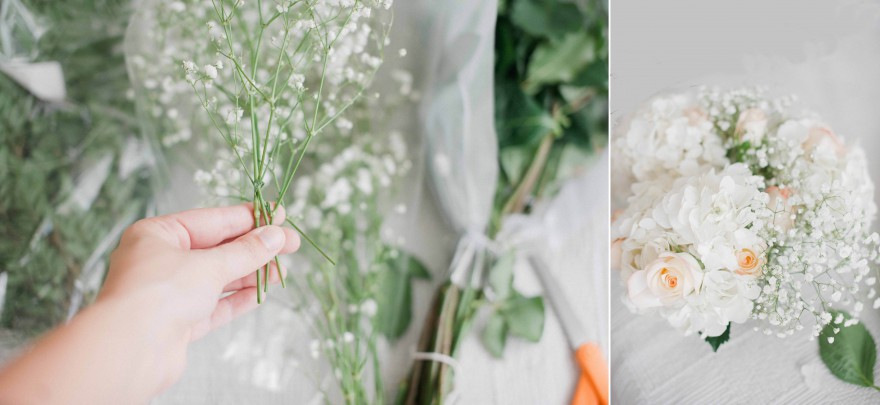
Step 5: Add the next flower in (baby’s breath), and continue until all flowers are used.
Step 6: Add filler (fern-like stuff)
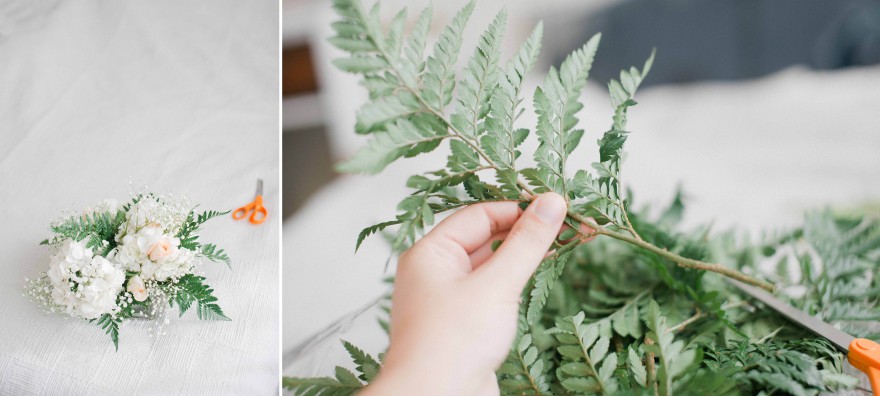
** When adding the smaller flowers into a large bloom like a hydrangea, I pulled the blooms of the hydrangea apart and put roses and babys breath inside the one bunch of hydrangea.
Step 7: Enjoy 🙂
