The Midwest
February 2, 2016Five Reasons To Hire A Planner
February 16, 2016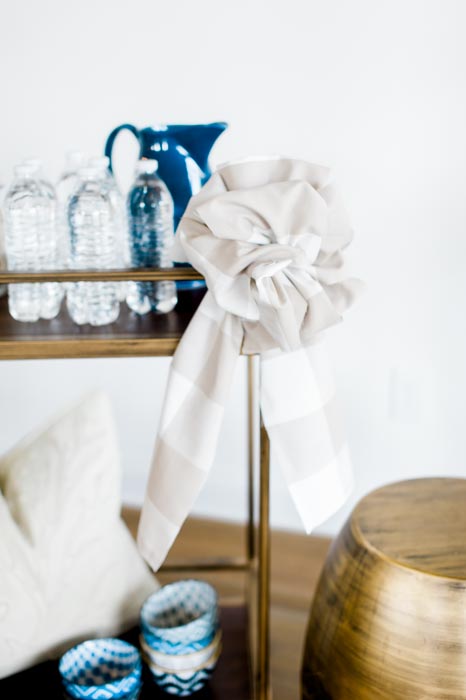
In the south we put bows on everything… presents, Christmas trees, wedding dresses, our hair…. anything! When I was a little girl, my mom learned to make bows and immediately her gifts were almost too pretty to open. I learned to make them too, and it’s become a thing I’m known for… my gifts will be the prettiest, damnit!
I hosted a shower for Jeremy’s sister last month, and decided to make a few for it… and then decided I should make a tutorial! Below are step-by-step instructions on how to construct the perfect bow! I couldn’t locate ribbon I liked in a timely manner, so I made my own from some cotton fabric I bought at Ikea. The fabric needs to have a little stiffness to make it work. You could use softer fabrics like silk or chiffon, but your bows will have to be much smaller.
My one piece of advice not addressed in the tutorial is the ratio of ribbon size to finished bow. The skinnier your ribbon, the smaller your bow will need to be. The loops will be floppy if your ribbon is too narrow.
You can start with step 2 if you are using actual ribbon.
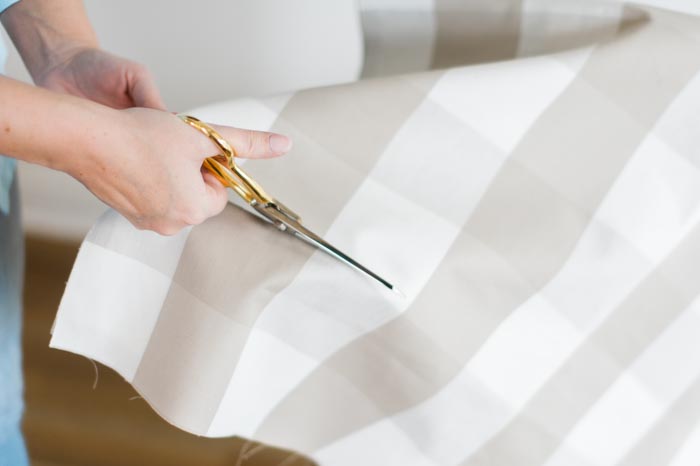
- With one yard of fabric folded in half (hamburger style… not hotdog), cut one section about 4″ wide and unfold the section once done. I just folded it to make the cutting go faster.. but it doesn’t matter.
- Take your long skinny piece of fabric (or ribbon) and roll it up in about a 10″ loop. You’ll have a little extra, leave it hanging long.
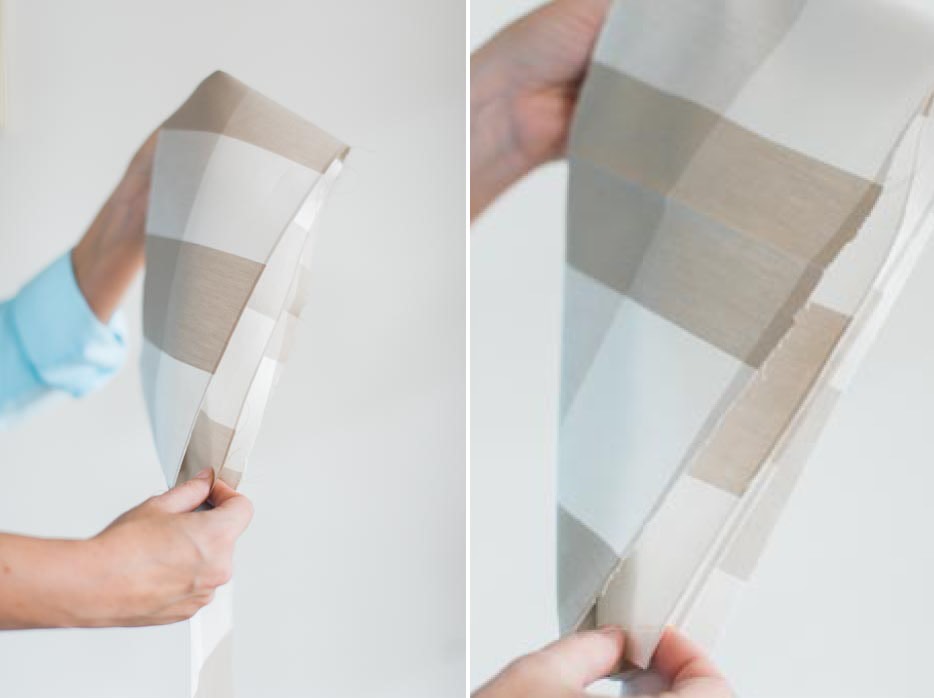
- Now, take your scissors and make a cut 1/3 of the way across the rolled up piece, cutting through all the layers. Do it again on the other side, so now you have 2 cuts across from each other.
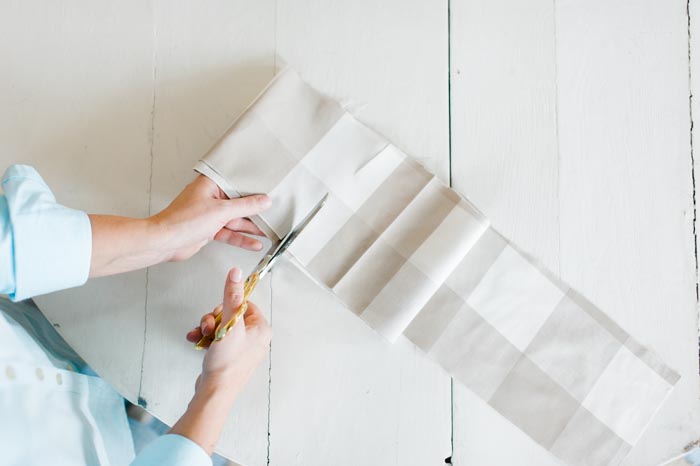
- Now repeat steps 1-3 again! You need 2 identical pieces to make your bow!
- Take one of your pieces and tie a piece of scrap ribbon around it, going through your cuts. It should make your fabric/ribbon pinch together a little. The larger the bow you’re making, use a wider piece of ribbon. My scrap piece was about an inch wide. *TIP* When you lay your looped piece down to tie the scrap through, make sure your tail of ribbon you left long is on top! It’s pictured backwards here!
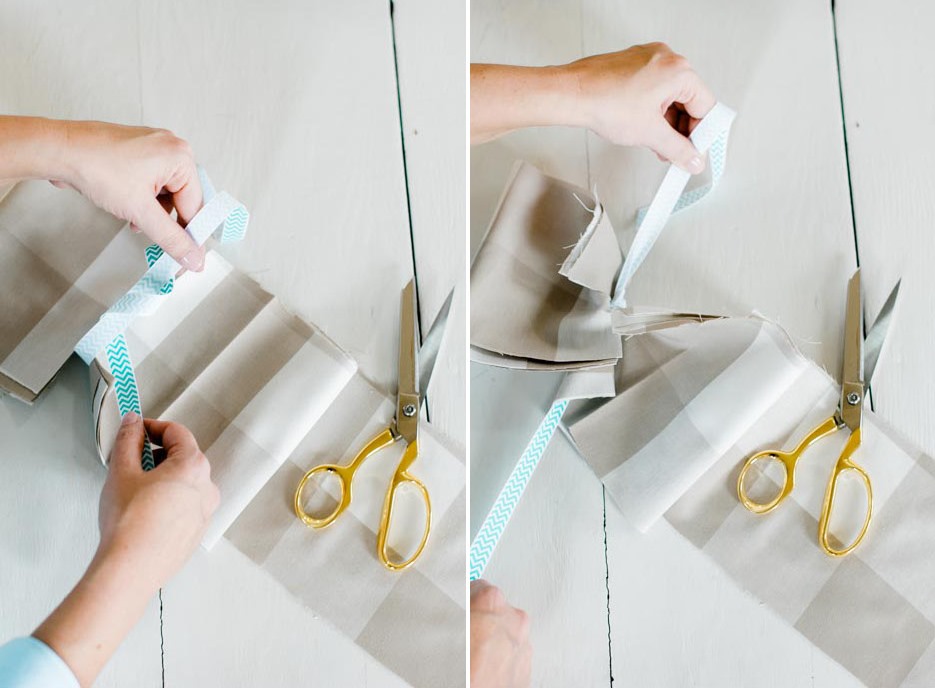
- Take your second piece and tie it on top of the first at a 90 degree angle to the first piece. Again, put the tail on top (pictured wrong!)
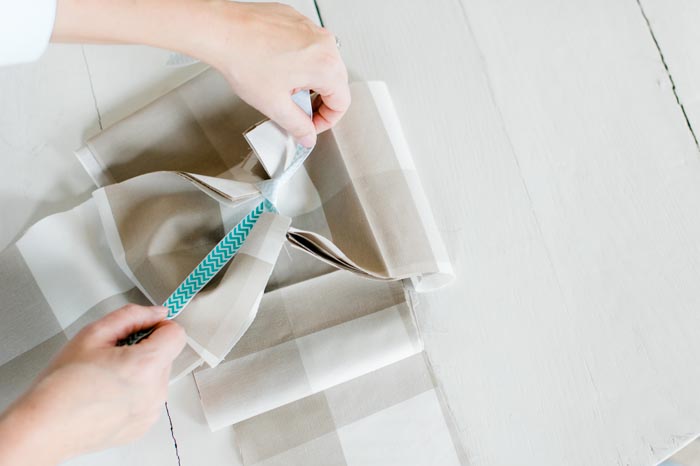
- Flip the whole thing over, that your scrap ribbon hangs in the back.
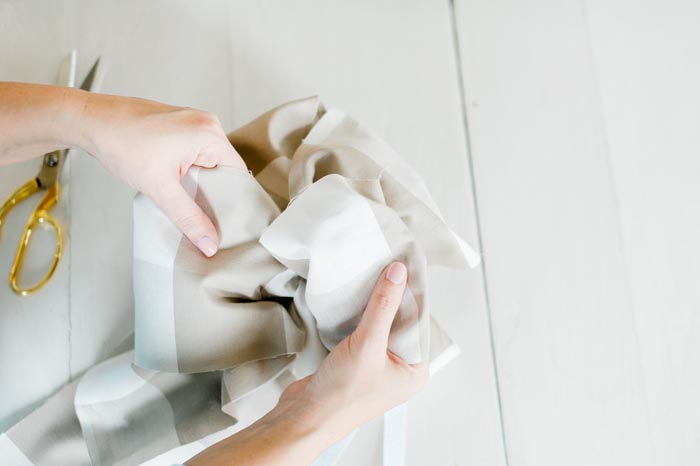
- Pull all the loops apart, twisting them so that the cuts you made now catch on the fabric it’s twisted against… thus making your loops stay open and fluffy.
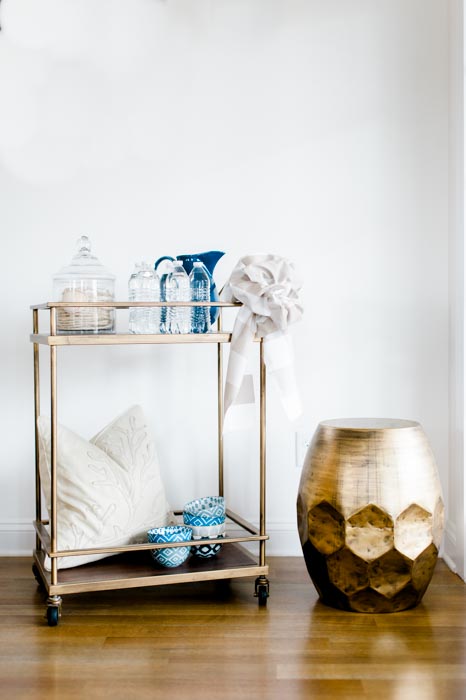
- Use your excess scrap ribbon to tie it on something!
2 Comments
Hey jessica! Your website is beautiful and this tutorial is so great! Im an obsessive decorator, so i’m definitely going to be trying this in the near future!!! Just beautiful! xoxo.
Thanks Hannah!! Have fun trying it out!